 Save
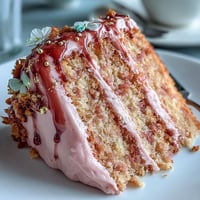
Save There’s something about the smell of brownies baking that instantly changes the mood in my kitchen, turning even the busiest morning into a tiny celebration. I stumbled onto this whimsical Mother’s Day flower pot idea last spring when the local market had piles of edible violets and I couldn’t resist bringing some home. That afternoon, flour dusted my favorite jeans, someone was humming in the living room, and I found myself improvising with a handful of clean garden pots that had never seen a seed. The first batch was a little lopsided, but the fun of scooping 'dirt' over cloudlike cream made us all giggle. Now, the ritual of layering and decorating these little desserts brings a smile every time the calendar blooms into May.
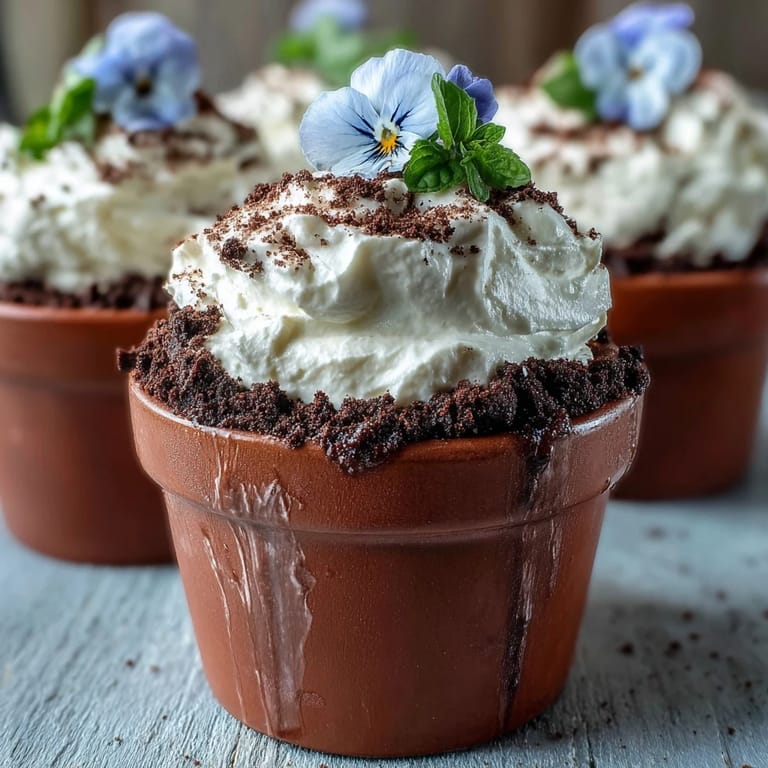
One rainy Mother’s Day, we set up our assembly line across a cluttered kitchen table: one of us whipped cream, another bashed Oreos with a rolling pin, and someone else sneakily ate gummy worms before they made it onto the desserts. There was laughter, a rogue dusting of cocoa powder on the floor, and by the end, six tiny garden pots stood, ready to be gifted to my mom with slightly sticky, very happy hands.
Ingredients
- Unsalted butter: Makes the brownies extra rich—melt gently so it doesn't brown.
- Granulated sugar: Balances the cocoa with a bright sweetness.
- Large eggs: Room temperature eggs mix smoother and give better texture.
- All-purpose flour: Just enough for structure, but don't overmix or the brownies lose their fudge.
- Unsweetened cocoa powder: Use a good brand; it really does make the chocolate flavor sing.
- Baking powder: Gives a light lift to otherwise dense brownies.
- Salt: A pinch sharpens all the flavors—don’t skip it!
- Vanilla extract: Rounds out the cocoa and gives a homier aroma.
- Oreo cookies: Smash them, filling and all, for the best cookie 'dirt' texture.
- Heavy cream: Chill your bowl and beaters for the fluffiest whipped cream.
- Powdered sugar: Sweetens the cream without making it grainy.
- Edible flowers/gummies: Adds color and makes the whole thing pop for a festive look.
- Fresh mint leaves (optional): Bring a garden-fresh scent—pick small leaves for a more delicate look.
Tired of Takeout? 🥡
Get 10 meals you can make faster than delivery arrives. Seriously.
One email. No spam. Unsubscribe anytime.
Instructions
- Get Your Pots Ready:
- Preheat your oven to 175°C (350°F) and line cleaned mini flower pots or a baking tray with parchment to prevent sticking.
- Melt and Mix:
- Warm the butter slowly until just melted, then whisk in the sugar and vanilla as the aroma fills the kitchen.
- Add the Eggs:
- Add eggs one at a time, whisking after each until the mix is glossy and smooth.
- Sift and Fold:
- Sift flour, cocoa, baking powder, and salt right over the bowl, then gently fold until there are no big dry streaks left.
- Bake the Brownies:
- Portion batter evenly into pots or spread in your pan; bake for about 20–25 minutes, testing with a toothpick for moist crumbs.
- Cool Completely:
- Let brownies cool fully so the cream won't melt, even if impatience tempts you.
- Make the Dirt:
- Pulse Oreos in a processor or smash with a rolling pin—the finer the crumbs, the more realistic the 'soil.'
- Whip the Cream:
- Beat the heavy cream and powdered sugar to stiff peaks—watch for ripples and stop before it turns to butter.
- Cut and Layer:
- If you used a tray, cut brownies to fit the pots, tucking them snugly inside.
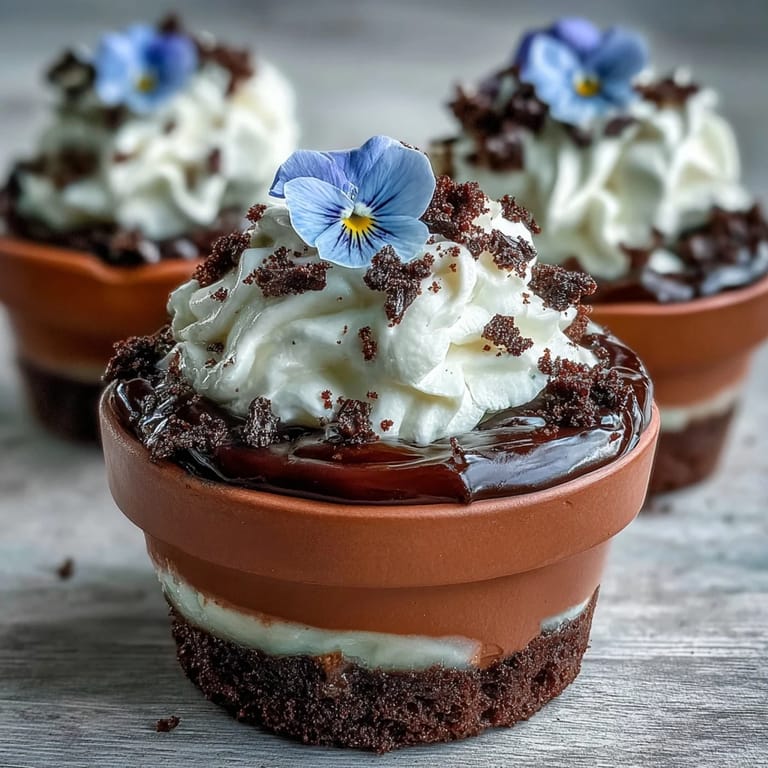
- Build the Garden:
- Layer on the whipped cream, then heap with generous spoonfuls of Oreo crumbs.
- Decorate!
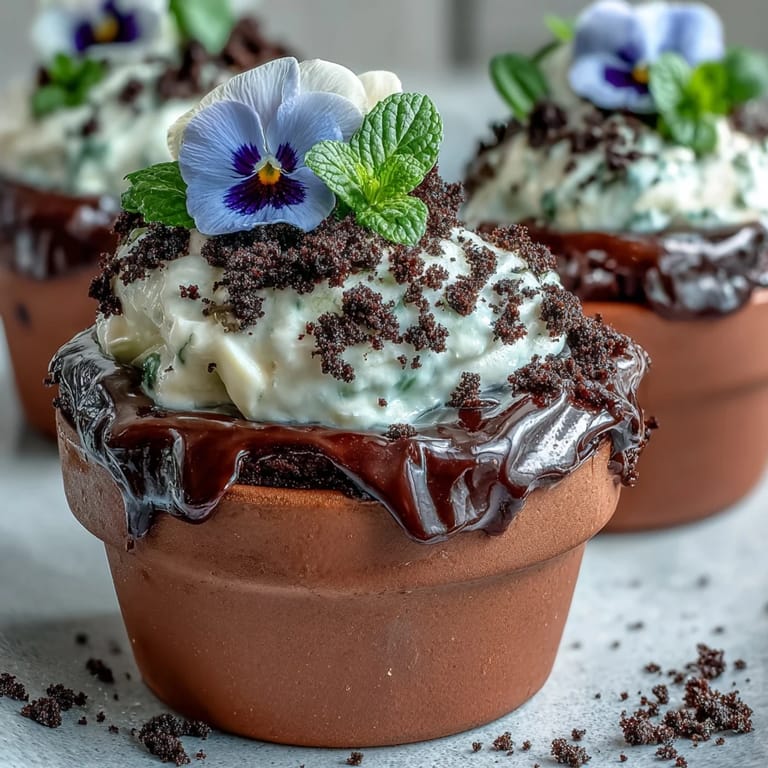
- Top with edible flowers, gummy candies, and a sprig or two of fresh mint for that springtime flair.
- Chill and Serve:
- Refrigerate until ready to wow your guests—let everyone dig through the layers for the full surprise.
 Save
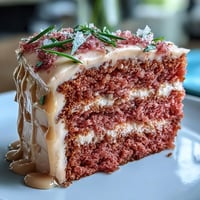
Save The very first bite of a flower pot brownie, eaten outside among real flowers, made me realize these were more than just a dessert—they were a playful gesture of affection, a little edible bouquet for someone I love.
Choosing and Using Edible Flowers
The best part of this recipe is experimenting with different edible blooms—pansies, violets, or even tiny rose petals. Always double-check that what you pick (or buy) is safe to eat and pesticide-free.
Making This Recipe Ahead
Brownies and Oreo crumbs keep well, so you can bake the base the day before. Save the cream and final decorating for the big event, so everything stays perky and fresh when served.
Easy Swaps and Creative Twists
If you’re short on time, boxed brownie mix works just fine, and you can use chocolate sandwich cookies from any brand for the 'soil.' Try swirling peanut butter or chocolate chips into the batter for an unexpected treat.
- Add a teaspoon of espresso powder to deepen the chocolate flavor.
- Chill your pots before filling for a neater look.
- Wipe the rims clean before serving—they’ll look extra polished.
 Save
Save Share these sweet garden pots as a centerpiece or a surprise gift—every bite is as charming as the first. Here’s to making new memories, one flower and crumb at a time.
Recipe FAQ
- → Can I bake the brownies directly in flower pots?
Only if the pots are labeled oven-safe. Otherwise bake in a lined tray and cut to fit the pots, or use ramekins. Line pot bottoms with parchment for easier removal and cleaning.
- → How do I get a fine, even Oreo "dirt"?
Pulse cookies in a food processor until fine. For extra uniformity, sift the crumbs or pulse in short bursts to avoid clumps. Reserve a few larger pieces for texture if desired.
- → What's the best way to make stable whipped cream?
Chill the bowl and beaters, use cold heavy cream and powdered sugar, and whip to stiff peaks. For longer hold, fold in a spoonful of mascarpone, or use a pinch of gelatin dissolved in a little water.
- → Can I prepare these ahead of time?
Yes. Bake the brownies and crush the Oreos a day ahead. Assemble with whipped cream and crumbs shortly before serving, or assemble fully and store covered in the fridge for up to 24–48 hours; add fresh flowers just before serving.
- → How can I adapt for common allergens?
Use dairy-free butter and coconut cream for the whipped layer, flax or chia eggs with a suitable binder for eggs, and a gluten-free flour blend. Check cookie ingredient labels or use a suitable gluten-free sandwich cookie.
- → Any tips for decorating the pots safely?
Use food-safe edible flowers or candies labeled for consumption. Rinse delicate flowers gently and pat dry. Place floral decorations just before serving to keep them fresh.