 Save
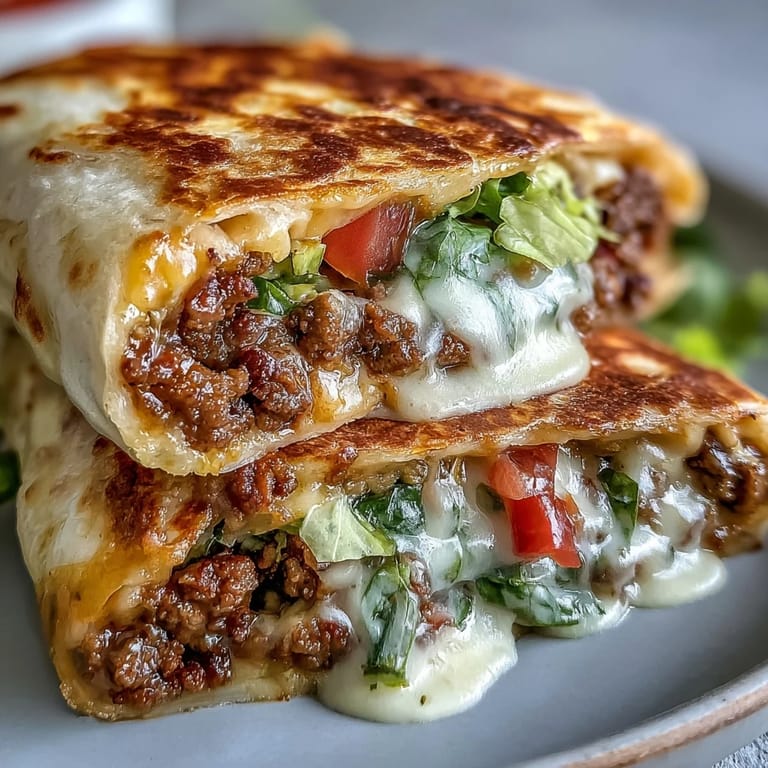
Save My husband used to bring home Crunchwraps from that fast food place on Friday nights before we started eating keto. The ritual was part of the fun, those foil wrapped packages sitting on the coffee table while we watched movies. When I decided to recreate them without the carbs, I expected disappointment. Instead, these low-carb versions became something we both actually prefer now.
Last month my sister came over skeptical about another keto experiment. She took one bite and immediately asked for the recipe. Now she makes them every Sunday for meal prep, and her teenage sons have no idea they are eating something healthy.
Ingredients
- Unsalted butter: Essential for the cheese sauce base and gives you control over saltiness since some taco seasonings can be sodium heavy
- Cream cheese: Creates that velvety smooth texture in the cheese sauce that keeps everything from becoming a greasy mess
- Heavy whipping cream: The secret to making the cheese sauce pourable instead of a thick clump
- Sharp cheddar cheese: The sharpness cuts through the rich beef and adds real flavor complexity
- Ground beef: The 80/20 ratio works perfectly here because you need that fat for flavor and moisture
- Taco seasoning: Homemade is best but if buying, check labels for hidden sugars and fillers
- Low-carb tortillas: Mission Carb Balance or almond flour based ones crisp up beautifully without falling apart
- Sour cream: Adds that cool tangy element that balances the spiced beef perfectly
- Shredded lettuce: Iceberg gives the best crunch while romaine holds up better if meal prepping
- Tomato: Fresh diced tomato adds moisture and brightness that canned salsa cannot replicate
- Extra cheddar or pepper jack: Pepper jack takes it up a notch if you like things spicy
- Fresh cilantro: Do not skip this garnish because it makes everything taste fresh and vibrant
- Jalapeño slices: Optional but they add that restaurant style kick we all love
- Olive oil: Helps the tortillas achieve that perfect golden crisp
Tired of Takeout? 🥡
Get 10 meals you can make faster than delivery arrives. Seriously.
One email. No spam. Unsubscribe anytime.
Instructions
- Melting the butter base:
- Melt your butter in a small saucepan over medium heat while watching it carefully so it does not brown or bubble over.
- Creating the cream foundation:
- Whisk in the cream cheese and heavy cream until completely smooth, taking your time to eliminate any lumps before moving forward.
- Adding the cheddar:
- Stir in the shredded cheddar gradually, letting each handful melt fully before adding the next, until you have a velvety sauce.
- Keeping it warm:
- Remove the cheese sauce from heat but keep it near your workspace because room temperature sauce is easier to work with.
- Browning the beef:
- Cook the ground beef in a large skillet over medium-high heat, breaking it into small pieces as it browns for about 5 to 7 minutes.
- Draining the excess:
- Carefully tilt the skillet and drain off the extra fat because too much grease makes the wraps soggy and harder to seal.
- Seasoning the meat:
- Stir in the taco seasoning and let it meld with the beef for a minute, then set it aside to cool slightly.
- Heating the oil:
- Add olive oil to a clean skillet and warm it over medium heat until it shimmers slightly.
- Crisping the tortillas:
- Fry each tortilla for about 1 to 2 minutes per side until golden spots appear, then drain on paper towels.
- Building the base layer:
- Place a tortilla on your work surface and pile a portion of seasoned beef right in the center.
- Adding the cheese sauce:
- Spoon a generous amount of warm cheese sauce over the beef so it can seep into all the nooks and crannies.
- Layering fresh toppings:
- Add dollops of sour cream, shredded lettuce, diced tomato, extra cheese, and any other toppings you love.
- Folding technique:
- Fold the edges toward the center in overlapping sections to create that signature hexagonal shape.
- Sealing the crunchwrap:
- Cook each assembled wrap seam-side down for 3 to 4 minutes per side until golden and sealed shut.
- The resting period:
- Let them rest for a full minute before cutting so the cheese sauce sets up slightly.
- Final garnish:
- Sprinkle with fresh cilantro and jalapeño slices right before serving while everything is still hot.
 Save
Save 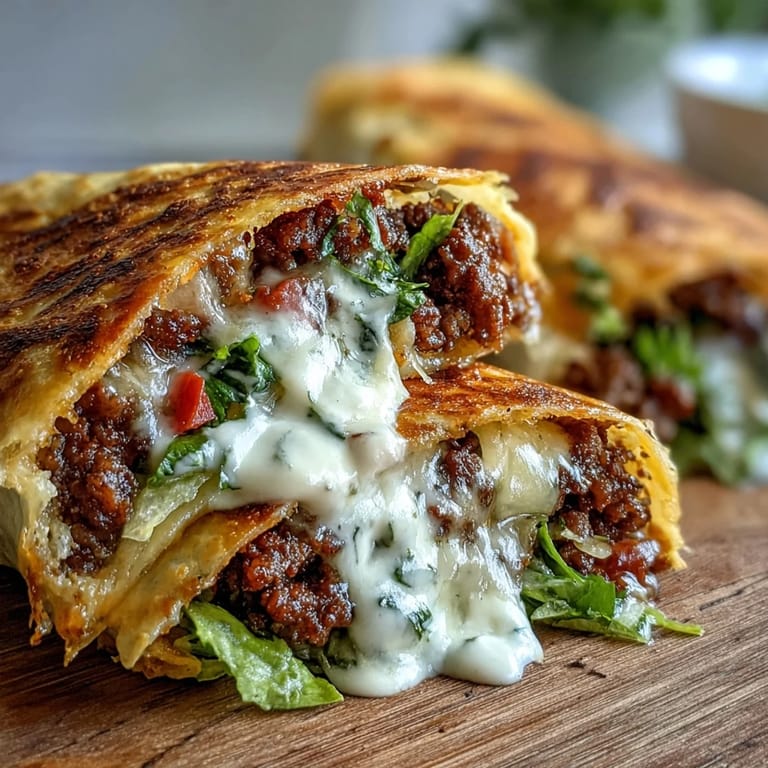 Save
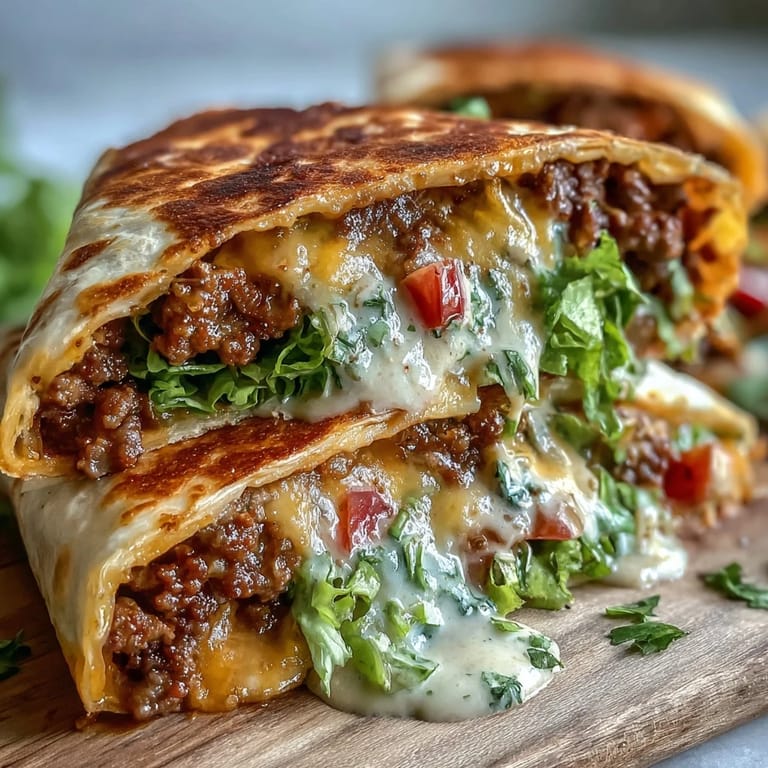
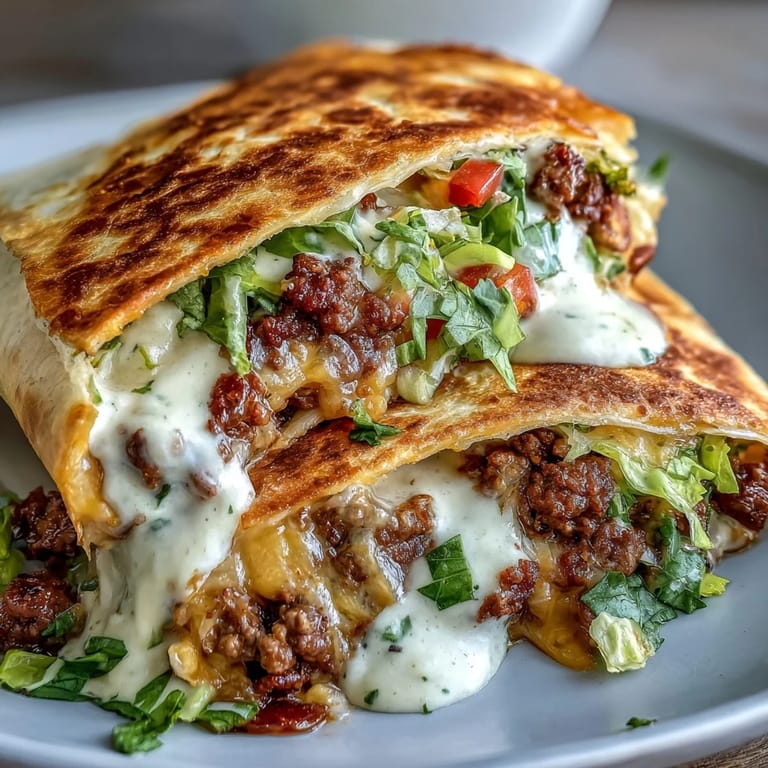
Save These have become our go to Friday dinner again, but now they are better than the original. There is something satisfying about making restaurant food at home that actually tastes homemade.
Getting the Perfect Fold
The hexagonal shape is not just for looks, it actually helps the crunchwrap cook evenly. I practiced with a empty tortilla a few times before my first attempt. Think of it like folding a round envelope, bringing the edges in one section at a time. If your tortillas crack when folding, try microwaving them for ten seconds first.
Make Ahead Strategy
You can cook the beef and make the cheese sauce up to three days in advance. Store them separately in airtight containers in the refrigerator. When ready to assemble, warm the beef slightly and reheat the cheese sauce until pourable. The tortillas are best crisped right before assembly, but you can fry them all at once and keep them in a warm oven.
Freezing Instructions
Wrap each assembled Crunchwrap tightly in plastic wrap, then foil, before freezing. They will keep for up to three months. Reheat from frozen in a 350°F oven for about 20 minutes, flipping halfway through. The texture will be slightly softer than fresh but still delicious.
- Let frozen Crunchwraps thaw in the refrigerator overnight for the best results
- Air frying works too if you prefer a quicker reheat method
- Skip the fresh garnishes until after reheating for the best texture
 Save
Save 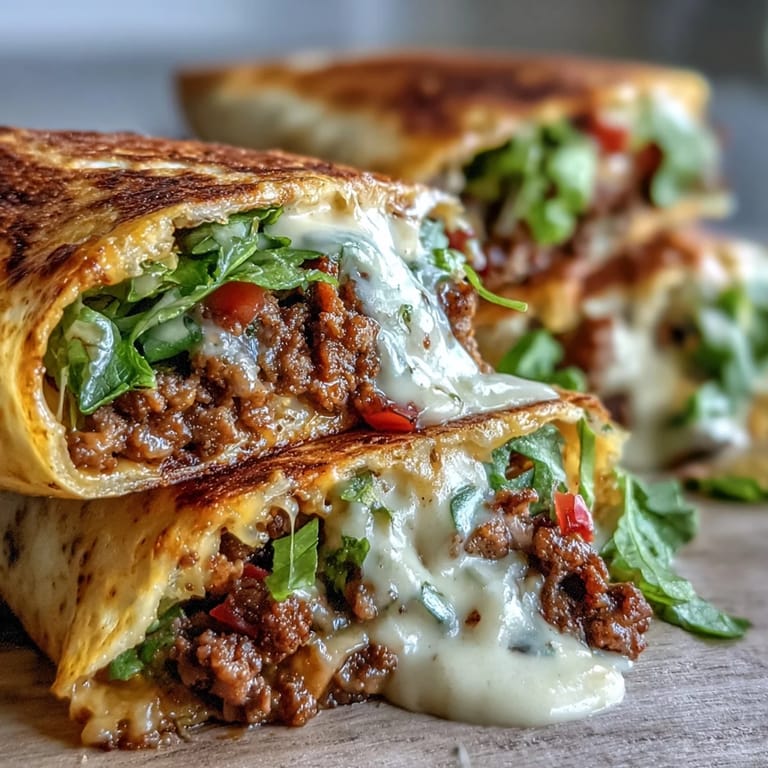 Save
Save Hope these become a new favorite in your house like they did in ours. Happy cooking.
Recipe FAQ
- → What makes these Crunchwraps keto-friendly?
These wraps use low-carb tortillas containing just 3-5g net carbs each, plus all fillings are naturally low-carb including seasoned beef, cheese sauce made with heavy cream, and fresh vegetables. Each serving contains only 15g total carbohydrates.
- → Can I make these Crunchwraps ahead of time?
Yes, assemble uncooked Crunchwraps and store them in the refrigerator for up to 24 hours. When ready to serve, cook them in a skillet for 3-4 minutes per side until heated through and crispy.
- → What protein substitutions work well?
Ground chicken, turkey, or even crumbled sausage make excellent alternatives to beef. Plant-based ground meat substitutes also work and keep the dish vegetarian while maintaining the Tex-Mex flavor profile.
- → How do I prevent the filling from leaking during cooking?
Avoid overfilling each wrap and ensure the tortilla edges are folded tightly over the center. Start cooking seam-side down to help seal the folds, and don't flip until the first side is golden and set.
- → Can I freeze these Crunchwraps?
Yes, freeze assembled uncooked wraps individually wrapped in plastic for up to 3 months. Thaw overnight in the refrigerator before cooking in a skillet until heated through and crispy.
- → What sides pair well with these Crunchwraps?
Guacamole, keto-friendly cauliflower rice, or a simple side salad with lime dressing complement these wraps perfectly. For beverages, try sparkling water with lime or a dry rosé wine.