 Save
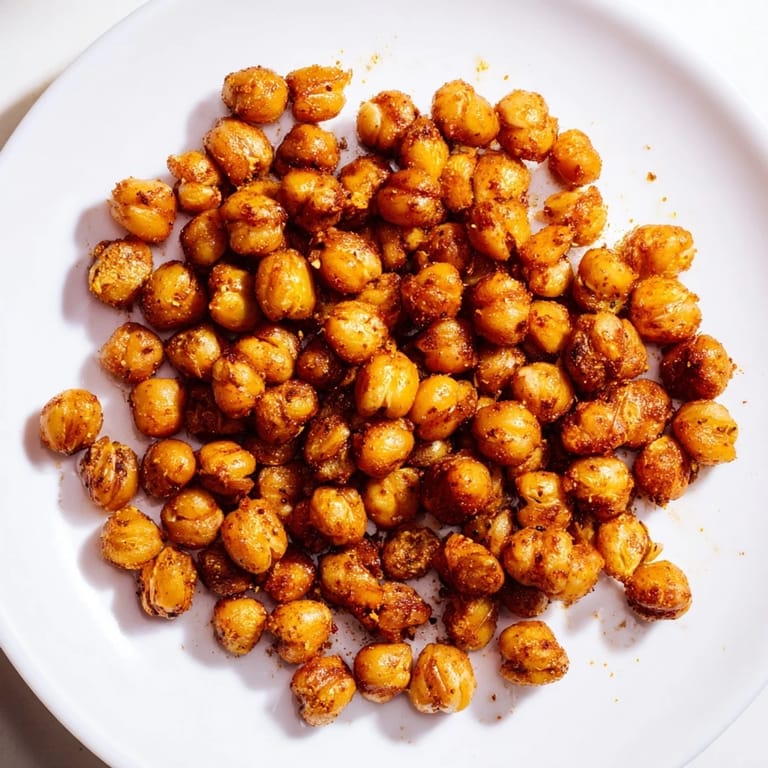
Save I discovered these crispy chickpeas on a lazy Sunday afternoon when I was hunting for something to snack on that wouldn't derail my week. My pantry yielded a forgotten can of chickpeas, and I remembered reading somewhere that roasting them transforms them entirely. What started as an experiment became an obsession—that shattering crunch when you bite into one is almost addictive, and the kitchen fills with this warm, toasted aroma that makes you want to keep eating just one more.
I brought a batch to a friend's dinner party, and watching people reach for handful after handful was its own kind of victory. Someone asked if they were store-bought because they looked too perfect, which felt ridiculous and wonderful at the same time. That's when I realized these humble chickpeas had quietly become my go-to contribution whenever I need something both impressive and effortless.
Ingredients
- Chickpeas (1 can, 400g, drained and rinsed): The foundation of everything—make sure you drain them really well and pat them dry with a towel, because even a little moisture will soften them instead of crisping them up.
- Olive oil (2 tbsp): This coats each chickpea and helps the seasonings stick while creating that golden, crispy exterior you're after.
- Sea salt (1/2 tsp): Enhances every other flavor and seasons from the inside out.
- Smoked paprika (1/2 tsp): Brings a subtle depth and that slightly smoky warmth that makes people ask what the secret ingredient is.
- Ground cumin (1/2 tsp): Adds earthiness and a touch of warmth that feels very Mediterranean without overwhelming the palate.
- Garlic powder (1/4 tsp): Distributes flavor evenly in a way fresh garlic can't, since you're roasting rather than sautéing.
- Black pepper (1/4 tsp): A finishing touch that adds subtle heat and complexity.
- Cayenne pepper (1/4 tsp, optional): If you like a little kick, this wakes everything up without making it aggressively spicy.
- Nutritional yeast (1 tbsp, optional): Creates an almost cheesy, umami-rich flavor that makes them feel more indulgent than they actually are.
Tired of Takeout? 🥡
Get 10 meals you can make faster than delivery arrives. Seriously.
One email. No spam. Unsubscribe anytime.
Instructions
- Heat your oven and prepare:
- Preheat to 200°C (400°F) and line a baking sheet with parchment paper—this prevents sticking and makes cleanup effortless.
- Dry the chickpeas thoroughly:
- This step is non-negotiable for crispiness. Use a clean kitchen towel and rub them gently until they feel completely dry to the touch.
- Coat with oil and seasonings:
- Toss everything together in a large bowl, making sure each chickpea gets an even coating of the olive oil and spice blend. You'll feel the difference when they're properly coated.
- Spread in a single layer:
- Pour them onto your prepared baking sheet in one even layer so they roast rather than steam. Crowding them defeats the purpose.
- Roast and shake:
- Pop them in the oven for 35 minutes, shaking or stirring every 10 minutes to ensure they crisp up evenly and don't burn on one side. You'll start hearing them rattle around at about the 20-minute mark.
- Cool and crisp up:
- Let them rest on the baking sheet for a few minutes—they'll actually continue crisping as they cool, becoming even crunchier than they were in the oven.
 Save
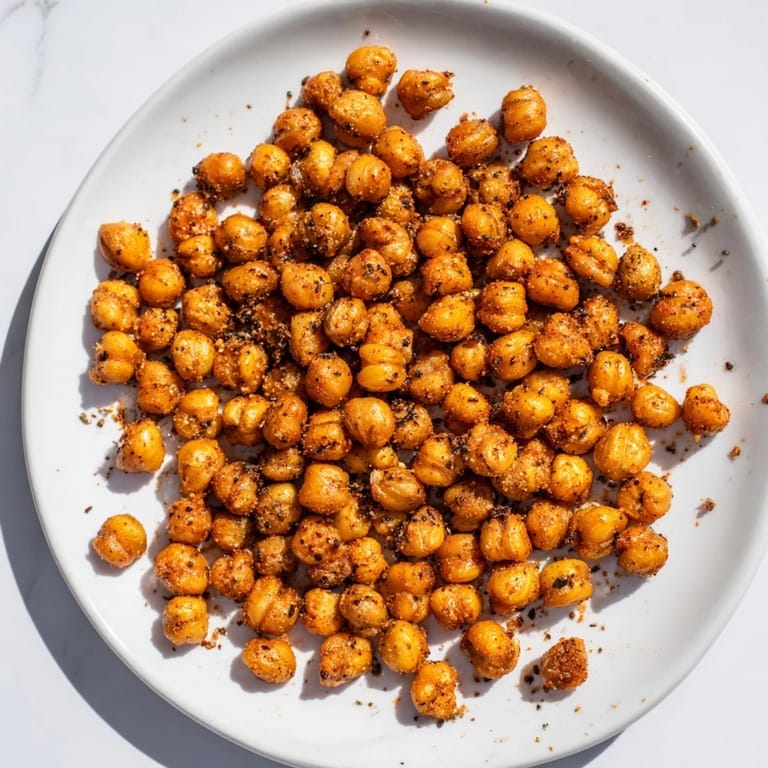
Save I once brought a batch to my mom's house, and she ate nearly the entire container while we were chatting, then felt a little sheepish about it. That's when I knew these had transcended snack status—they'd become the kind of food people unconsciously reach for without thinking, the way you'd eat popcorn at a movie. Now I always make extra, knowing they'll disappear faster than I expect.
Flavor Variations That Work Beautifully
Once you understand the basic technique, you can swap the spice blend entirely and create something completely different. Curry powder transforms them into something Indian-inspired, while Italian herbs and a pinch of lemon zest take them in a Mediterranean direction. I've had success with chili lime (adding lime zest and a touch of chili powder), everything bagel seasoning, and even a simple cinnamon-sugar combo for when the snacking mood is sweet rather than savory.
Storage and Make-Ahead Magic
These keep for up to three days in an airtight container, and they're actually one of those rare snacks that taste better when they've been sitting for a day—the flavors continue to develop and the texture stays reliable. I like to make a double batch on Sunday so I have grab-and-go snacks throughout the week without any extra effort. They also work beautifully as a salad topper, tossed into grain bowls, or even crushed slightly and sprinkled over roasted vegetables.
- If they ever lose their crunch, a quick 5-minute refresh in a 180°C oven brings them right back to life.
- Make sure your storage container is truly airtight, because even a slightly loose lid will let them go soft.
- Keep them at room temperature, never the fridge, which speeds up the softening process.
 Save
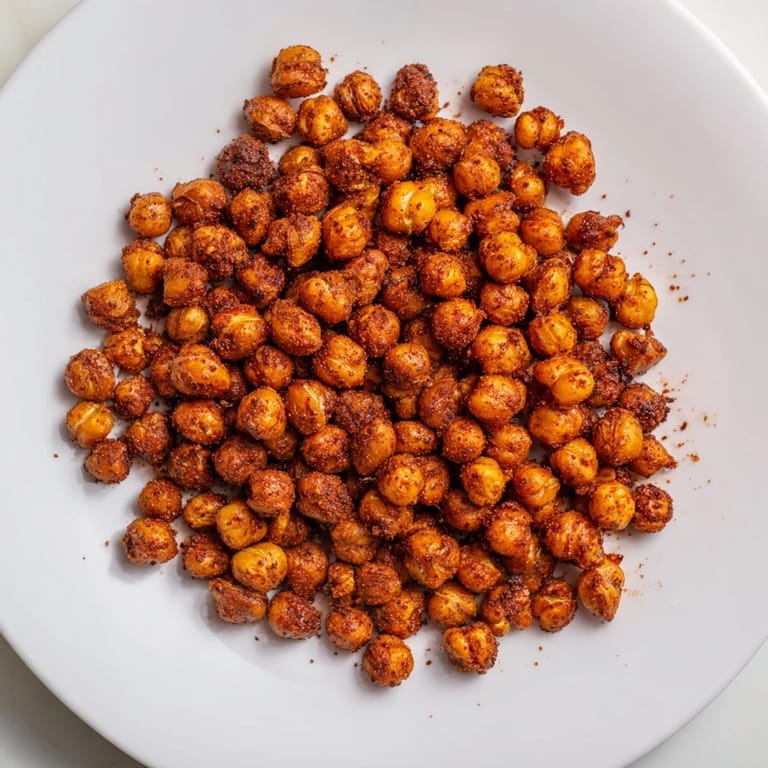
Save What started as a way to use up pantry staples has become one of my most reliable kitchen victories. These chickpeas remind me that sometimes the best discoveries come from the simplest ingredients and a little patience.
Recipe FAQ
- → How do I get chickpeas extra crispy?
Pat them dry thoroughly before seasoning and roast at 200°C (400°F) while shaking the pan every 10 minutes for even crispness.
- → Can I use dried chickpeas instead of canned?
Yes, cook dried chickpeas until tender, drain well, and dry completely before applying the seasoning and roasting.
- → What spices enhance the flavor best?
Smoked paprika, cumin, garlic powder, and sea salt create a balanced smoky and savory profile, with optional cayenne for heat.
- → How should I store the roasted chickpeas?
Allow them to cool completely, then store in an airtight container at room temperature for up to 3 days to maintain crunch.
- → Are these suitable for special diets?
Yes, they fit vegan, gluten-free, and high-protein dietary preferences with no major allergens present.