 Save
Save When I was brainstorming a birthday surprise for my favorite Taurus, an idea as decadent as the sign itself came to mind: a cookie box shimmering with golden accents. The gentle aroma of vanilla and butter felt instantly grounding as I mixed the dough, while visions of sparkling constellations played in my head. There was something oddly empowering in painting edible gold symbols onto each cookie, like fitting crowns on tiny planets. I think sometimes, cookies become the best canvas for our creative whims. This batch felt equal parts treat, craft, and little gift-wrapped celebration of someone’s cosmic style.
I still laugh about last April when I tried to use my clumsy left hand for the zodiac details and ended up with one Taurus bull that looked more like a golden sheep. It started a contest at our table: whose cookie decoration was the weirdest? Ironically, that wobbly bull ended up being everyone’s good luck charm for the year and was the first one eaten. Decorating cookies started as my solo craft but always seems to turn into a group project — and those are usually the best memories.
Ingredients
- All-purpose flour: Measuring carefully helps the cookies hold their beautiful shapes without spreading too much.
- Unsalted butter: Letting it soften fully is the secret to blending a dough that's creamy and not crumbly.
- Granulated sugar: Whipping it with butter until it’s pale makes for deceptively delicate cookies.
- Large egg: Always bring it to room temperature so your dough mixes up evenly.
- Pure vanilla extract: Use the real stuff for a flavor that's warm but not overpowering.
- Almond extract (optional): Adds a delicate layer — but citrus zest works too if you’re gifting to someone with allergies.
- Salt: Just half a teaspoon brings out all those sweet, rich flavors.
- Powdered sugar (for icing): Sifting it removes lumps, so your royal icing winds up satiny smooth.
- Egg whites or meringue powder: The foundation of a glossy, pipeable icing.
- Lemon juice: A touch brightens the flavor and balances the sweetness.
- Edible gold luster dust: Provides that regal, luxe finish every Taurus-themed treat deserves.
- Clear alcohol (vodka or lemon extract): Just a few drops makes the gold paint glide on easily and evaporate fast, so the details stay sharp.
Tired of Takeout? 🥡
Get 10 meals you can make faster than delivery arrives. Seriously.
One email. No spam. Unsubscribe anytime.
Instructions
- Cream and Blend:
- Beat softened butter and granulated sugar together until they look light, fluffy, and almost cloud-like. Add your egg, vanilla, and almond extract, and blend until silky smooth.
- Mix and Chill:
- Whisk flour and salt in a separate bowl, then gradually mix into the wet ingredients until a soft dough forms. Divide the dough, wrap into discs, and let it rest in the fridge for half an hour so the flavors meld and the dough is easy to roll.
- Shape the Stars:
- Roll dough on a floured counter until it's about 1/4-inch thick, feeling for an even surface. Use Taurus or zodiac-themed cutters to stamp out cookies, and space them apart on parchment-lined sheets.
- Bake the Batch:
- Bake at 350F for 10–12 minutes until you catch a whiff of fresh bakery and the cookies’ edges are kissed with gold. Let them cool completely to ensure your icing won’t melt.
- Whip Up Royal Icing:
- Beat egg whites (or meringue powder with water) to soft peaks, then slowly add sifted powdered sugar until the icing is glossy and holds stiff peaks. Stir in lemon juice and vanilla, tint gently if you want, and spoon into piping bags.
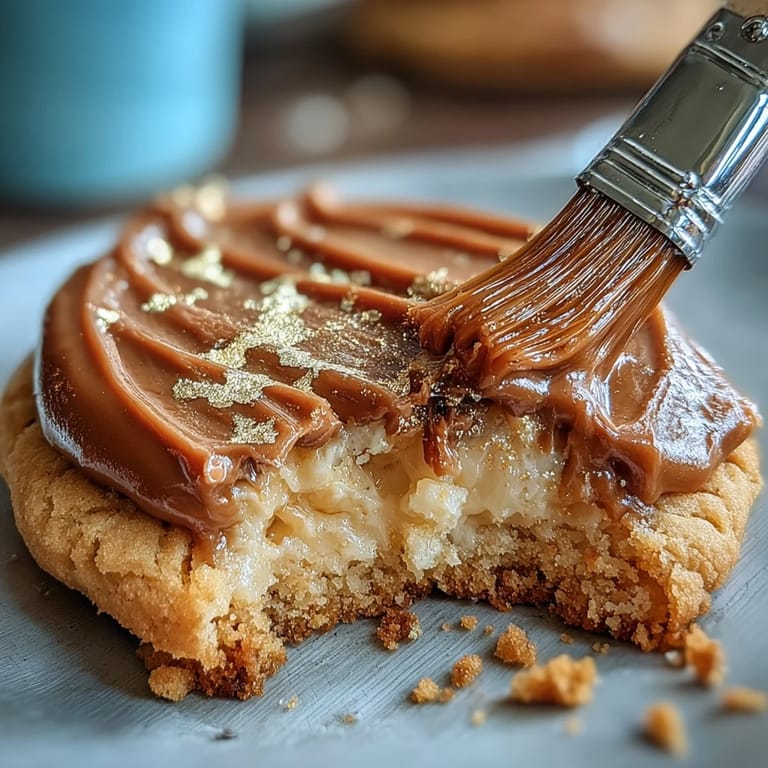
- Decorate and Gild:
- Outline and flood your cooled cookies, then give them at least two hours to set up firm. Mix edible gold dust with a little clear alcohol and paint constellations, Taurus symbols, or dreamy gilded details using a steady hand and a fine brush.
- Box the Magic:
- Arrange finished cookies in a beautiful box lined with parchment. Slip in a zodiac card or note for gifting flair, and enjoy the admiring looks when you present your starry creations.
 Save
Save 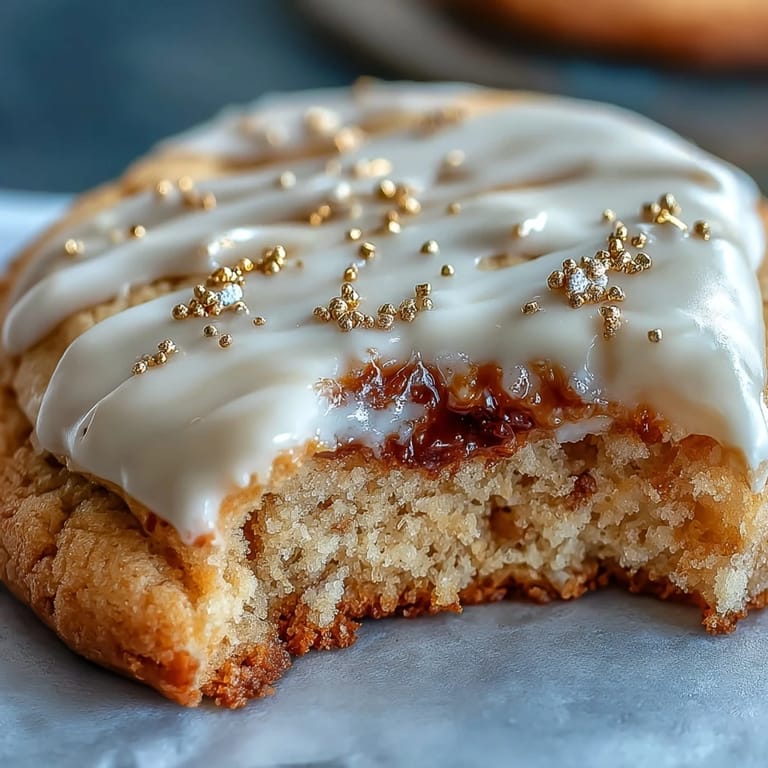 Save
Save There’s a photo I treasure of three generations — my mom, her sister, and me — all hunched over the table with golden paintbrushes, trading stories and laughing between brushstrokes. I never expected something as ordinary as a sugar cookie to bring us together at the same table for the afternoon. Each cookie glinted in the sunlight while we compared which ‘Taurus’ looked most stubborn. It felt like we were making edible heirlooms, one tiny masterpiece at a time. That moment made these cookies a new family tradition.
Making the Most of Your Zodiac Cookie Cutters
After a few test runs, I realized not all cookie cutters are created equal: the fine lines and sharp corners of some zodiac shapes need a little extra flour dusted on before cutting, or the dough can stick and stretch. Wiggling the cutter side to side releases the shape more cleanly than just popping it straight up. If you ever accidentally lop off a constellation tail, just pinch it back into shape before baking — no one will notice after you flood with icing later. My favorite trick is chilling the cut cookies on the tray for 10 minutes before baking; they come out with sharper points and none of those sad, blobby edges.
Personalizing the Cookie Box for Gifting
Every Taurus I know has a little flair for style, so turning the cookie box into an experience is half the fun. Try folding parchment like origami, slipping in tiny theme cards, or layering sprigs of edible flowers for a memorable reveal when the lid comes off. I keep a stash of themed stickers to seal the box — it surprises even adults and makes the delivery feel extra special. And if you can manage, sneak a handwritten note about their astrological strengths inside; it’ll spark smiles before the first bite.
Color and Details to Honor Every Taurus
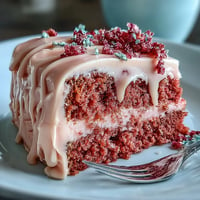
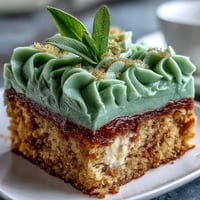
Experimenting with soft green and pink icing accents made the cookies feel both earthy and elegant — perfect for Taurus energy. Don’t stress about making every zodiac symbol identical. In fact, leaning into unique swirls and brushstrokes often earns the best compliments. When painting with gold luster, less is more: a few shining lines or a constellation dot pattern pops against the white icing.
- Have toothpicks handy for nudging icing into tricky corners.
- Add a little extra lemon juice if your icing gets too thick.
- Let cookies dry in a cool place so the gold stays brilliant.
 Save
Save 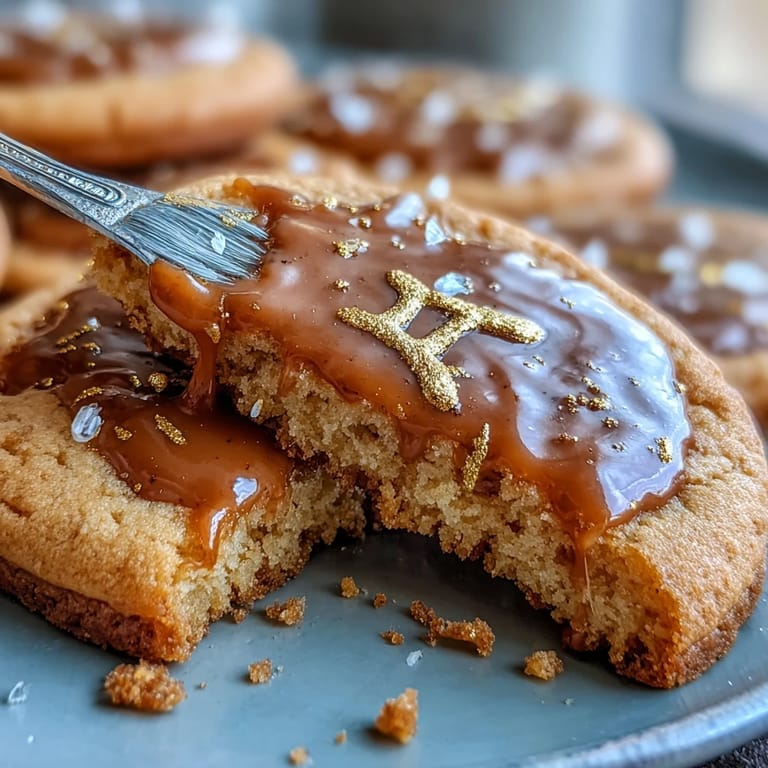 Save
Save There’s something delightfully grounding about baking these glittering cookies on a quiet morning, knowing they’ll spread both joy and sparkle. I hope they charm every sign around your table.