 Save
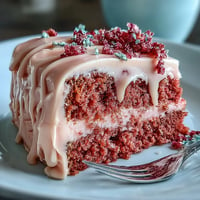
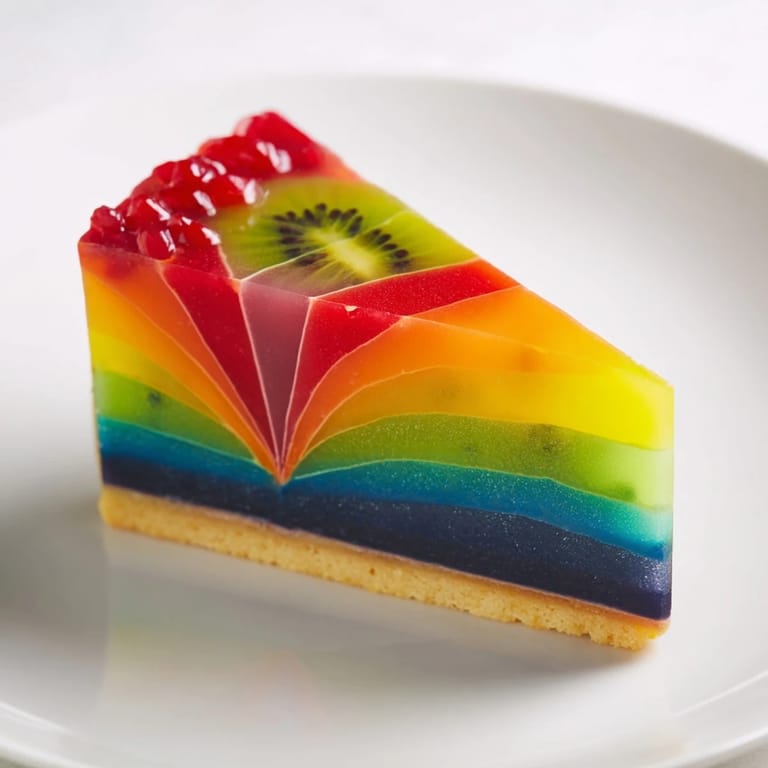
Save The first time I assembled The Kaleidoscope, I wasn't thinking about impressing anyone—I was genuinely curious whether I could trap five different colors and flavors into one dessert without it turning into a muddy, confusing mess. Standing in front of my springform pan with homemade foil dividers and five small bowls of jewel-toned gelatin, I felt like I was building something between a dessert and an art installation. When I finally unmolded it and the light caught those perfect V-shaped segments radiating outward, I understood why people get excited about this kind of thing.
I made this for a dinner party where someone mentioned they always find desserts too heavy, and I wanted to prove that something beautiful could also feel light and almost playful. Watching that first guest cut into it and pause—just for a moment—before tasting it reminded me that food doesn't always have to be complicated to make people feel something. The whole table wanted their own slice immediately.
Ingredients
- Whole milk and heavy cream (200 ml each): These create the base for the gelatin layers—the ratio matters because milk alone would make it too thin, and all cream would be overwhelming. I learned this by trial.
- Granulated sugar (100 g): Balances the tartness of the fruit purees without making the dessert cloying.
- Powdered gelatin or gelatin sheets (3 tsp or 6 sheets): The blooming step is non-negotiable—it ensures smooth, glossy layers instead of grainy ones.
- Vanilla extract (1 tsp): A whisper of vanilla ties all five flavors together without stealing the spotlight.
- Food coloring—red, yellow, green, blue, purple: Gel coloring holds its vibrancy better than liquid, though either works. Start with a drop and add more if needed.
- Fruit purees (5 tbsp total, matched to colors): Raspberry, mango, kiwi, blueberry, and blackberry each bring their own tartness and flavor personality. Fresh or frozen work equally well.
- Digestive biscuits or graham crackers (150 g): The foundation keeps everything grounded. Crush them finely so the base feels cohesive when pressed.
- Unsalted butter, melted (60 g): It holds the crumbs together while letting their flavor come through.
Tired of Takeout? 🥡
Get 10 meals you can make faster than delivery arrives. Seriously.
One email. No spam. Unsubscribe anytime.
Instructions
- Build your base:
- Crush the biscuits into fine, even crumbs—think breadcrumb texture, not chunks. Toss with melted butter until it feels like damp sand, then press it firmly into your prepared springform pan, working it into the corners. Set it in the fridge while you handle the gelatin.
- Wake up the gelatin:
- Sprinkle it over cold water and let it sit untouched for five minutes. If you're using sheets, submerge them gently and let them soften, then squeeze out excess water—this matters because extra moisture will dilute your mixture.
- Create the custard base:
- Heat milk, cream, and sugar together over medium heat, stirring occasionally until the sugar dissolves and tiny wisps of steam rise. You want it hot enough to fully dissolve the gelatin but not so hot it breaks the cream. Remove from heat, add the bloomed gelatin, and stir patiently until there are absolutely no grainy bits remaining.
- Add your flavor:
- Stir in the vanilla, then divide the mixture into five bowls. To each bowl, add one fruit puree and matching food coloring—start with a single drop of color and adjust upward. Mix each one thoroughly until the color is even.
- Architect your segments:
- Tear off five strips of aluminum foil or cut cardboard into wedges that divide your pan into five equal V-shaped sections. Prop them upright from the center, meeting at the middle like spokes on a wheel. Pour each colored mixture into its assigned section slowly and gently. After thirty minutes, the gelatin will set enough that you can carefully lift out the dividers.
- Set it completely:
- Return the whole pan to the fridge for at least two more hours. This ensures the layers are fully firm before unmolding.
- Release and reveal:
- Run a thin knife around the interior edge of the springform, then gently unhinge the pan. If any section feels stubborn, dip the bottom of the pan briefly in warm water. Slice carefully—let the knife do the work rather than sawing.
 Save
Save There's something almost meditative about watching the layers set in the fridge—knowing that behind closed doors, everything is firming up, waiting to be discovered. When I sliced into it hours later and saw those perfect colored wedges radiating outward like they'd been carefully painted, I realized this dessert had become something more than the sum of its parts.
The Beauty of Customization
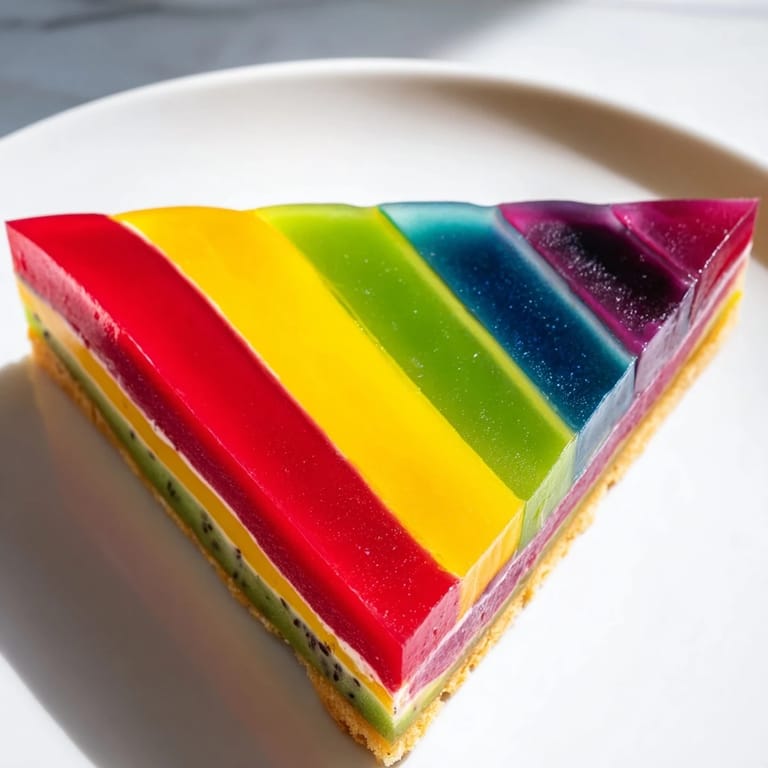
One of the joys of this recipe is that it genuinely invites you to make it your own. The fruit purees and colors aren't set in stone—they're a starting point. I've made versions with passion fruit and dragonfruit, others with strawberry and blackcurrant, and each time the flavor profile shifts entirely. The key is choosing purees and colors that feel visually cohesive and taste balanced together.
Texture and Temperature Matter
Serve this straight from the fridge when the gelatin is still cool and silky. If it sits at room temperature for more than a few minutes, it begins to soften and the edges lose their definition. I've learned that this is actually a dessert best eaten immediately after it comes to the table. The contrast between the creamy gelatin and the crisp, buttery base is part of what makes it special.
Making It Your Own
You can adapt this recipe without losing its impact—it's more forgiving than it might appear at first glance. The structure stays the same, but everything else is flexible depending on what you have and what you love.
- For a vegan version, swap agar-agar for gelatin and use coconut milk and oat cream in place of dairy.
- Serve each slice with a dollop of unsweetened whipped cream or a small handful of fresh berries that echo its colors.
- If you don't have a springform pan, a regular round cake pan works—just unmold it more carefully, dipping the bottom in warm water first.
 Save
Save This dessert taught me that sometimes the most impressive things come from understanding the basics deeply and then trusting the process. It's a lovely reminder that in the kitchen, patience and precision create beauty.
Recipe FAQ
- → How do I get the V-shaped layers to hold their shape?
Use aluminum foil or cardboard dividers to partition the pan into V-shaped sections before pouring each colored layer. Chill until firm, then carefully remove dividers to keep the segments distinct.
- → Can gelatin be replaced for dietary needs?
Yes, agar-agar is a suitable vegan alternative. Use coconut milk and cream instead of dairy to keep the texture creamy while meeting vegan preferences.
- → What fruits work best for the layers?
Raspberry, mango, kiwi, blueberry, and blackberry purees are ideal for vibrant colors and complementary flavors but feel free to customize with your favorite fruits.
- → How long should the dessert be chilled?
Initial chilling of the base and layers requires about 30 minutes each. After assembling, chill the entire dessert for at least 2 hours to ensure it sets properly.
- → How can I ensure clean slicing of the dessert?
Run a warm knife around the edge before releasing the pan. Use a sharp, warm knife for cutting to reveal the crisp V-shaped layers without smudging.